
Table of Contents
Create New Material Allocate
Overview
- Transfer stock from one location to another location and assign the stock to Staff.
Start
- Click on Material Allocate Menu and click on Create New.
Components of Material Allocate
- Header
- Line Items
- Additional Info
- Summary
- Save Document
- Attachment
- Comments
Header
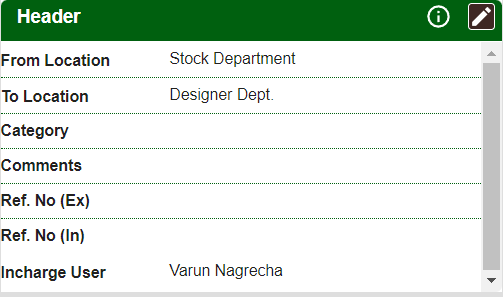
Step 1: Click edit Header. System will open a popup to edit the information of the header. following information is required:
- From Location: Select location from which item is to be moved.
- To Location: Select location to which item is to be moved.
- Currency: Provide the currency of the document, by default system will show local currency
- Confirm by User: This is the person who is incharge of the transfer.
- Comments: Any comments that will help make the document.
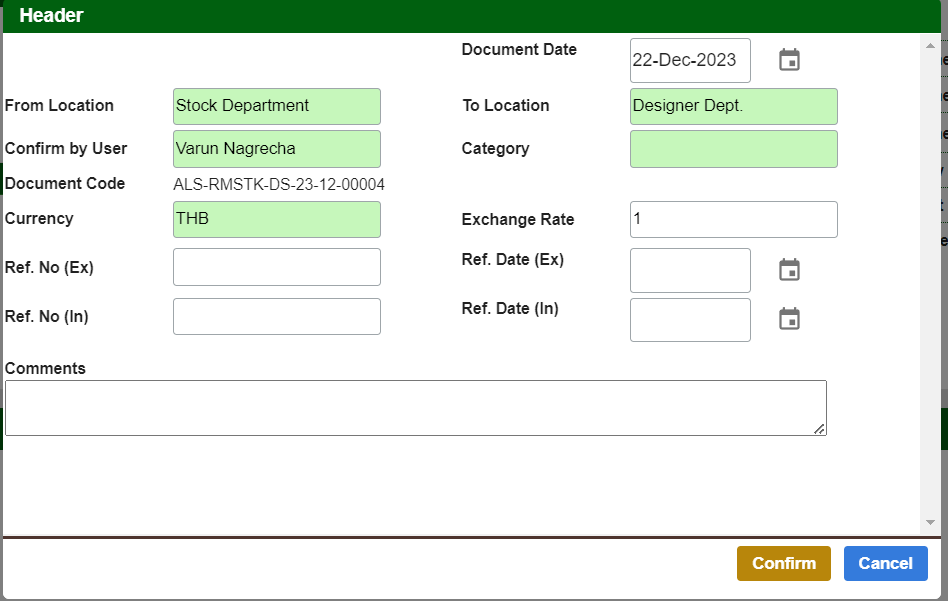
Step 2: After the information that is required is keyed in, click on the Confirm button to close the popup.
Line Items
- Line Items: Add / Edit items that are required:
Step 1: Add line item: In Line item section, there are following option to add new item:
- Scan Barcode or QR code to add item.
- Provide the Item Id in the box mentioned “Barcode / Id…” and then click the Design button to add the item.
- Click Design button directly, this will open search screen for users to search and select the item to add.
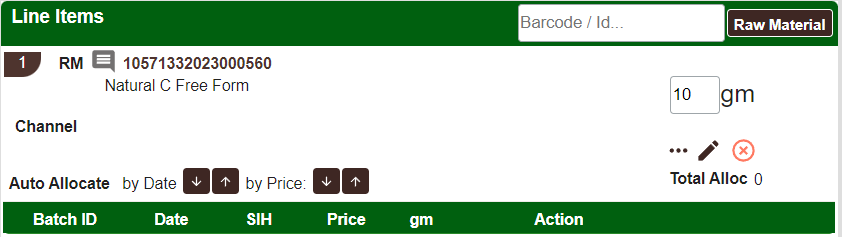
Step 2: Provide item details: After the item is added, you can click on Edit button for that item, system will open a popup, and users can provide the following details:
- Quantity, Comments, Reference No, etc.
- Select Staff the material is Assigned to.
- After editing is done, click Confirm to close the popup.
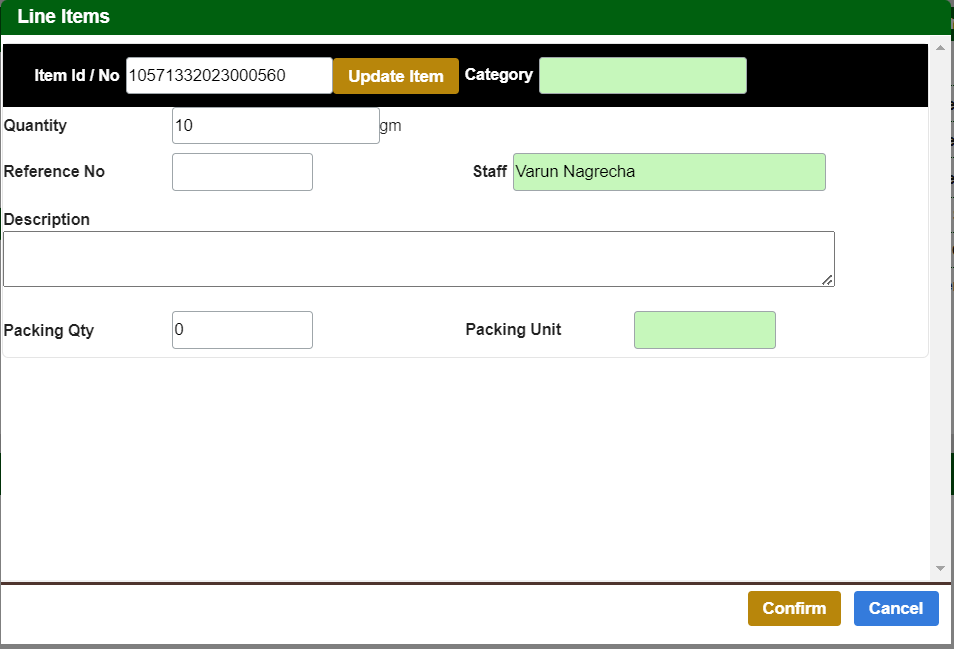
Repeat the Step 1 and 2 for each item to be added in the Line Item
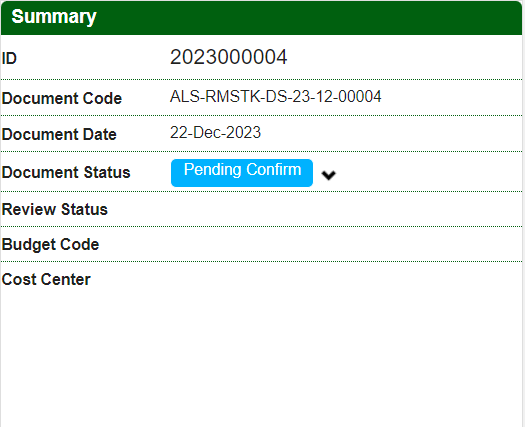
Summary
This section will show the following key information
- Transaction References: Document ID, Document Code, Document Date, Currency, Budget Used, any other Reference Document that this transaction refers to
- Status of the document
Save the Document
After all changes are done, it is necessary to Save the Document, by clicking the button “Save Document”, If this is new Document, system will assign the Document ID and Code after it is saved for the first time.
Attachments
Note: Attachments can be added only after document is saved.
Step 1: After the document is saved, click on Add button in the Attachment section. This will open a popup for file selection.
Users can select the file to attach or drag and drop the file on the popup
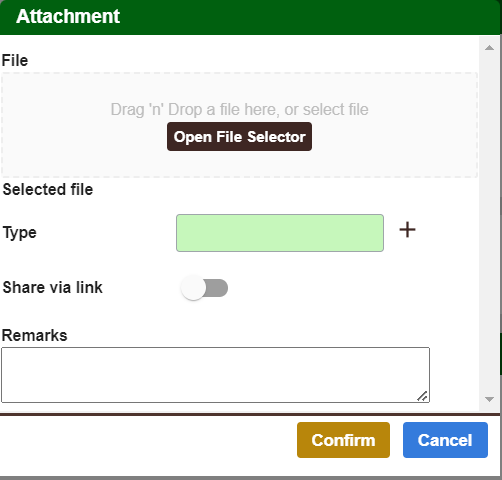
Step 2: Click confirm to close the popup
Note: At a time only one attachment can be uploaded.
Comments
Note: Comments can be added at any time, even if the document status is pending or closed.
To add comment click on Add button and provide the comment in the popup.
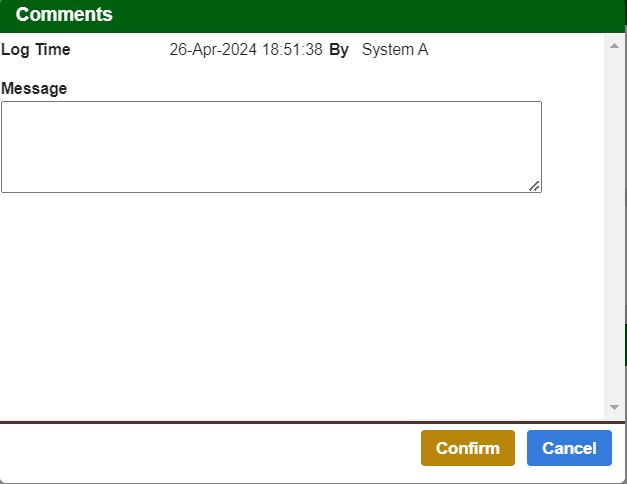
Note: User can edit only their own comment, eg: User A cannot change comment of User B