
Table of Contents
Vendor Payment
Start
Click on Vendor Invoice Menu and then click on Create New button
Components of Vendor Payment
- Header
- Transactions
- Detail
- Save Document
- Attachment
- Comments
Header
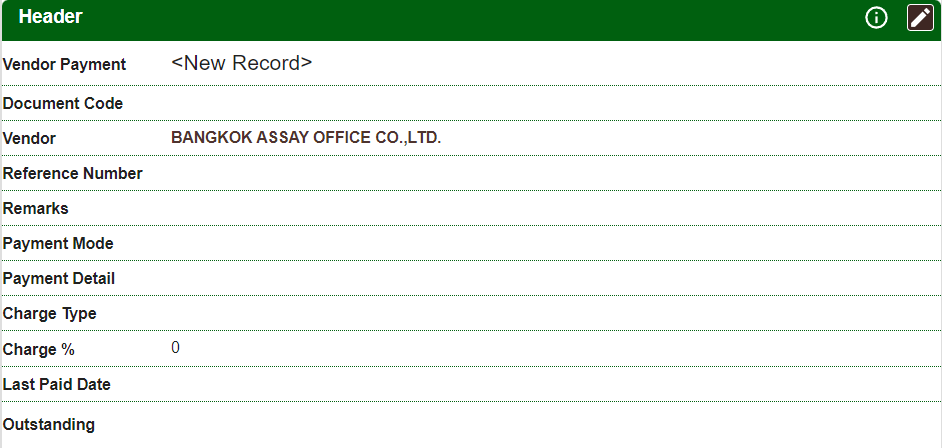
Step 1: Click edit Header. System will open a popup to edit the information of the header. following information is required:
- Supplier Name: Select the for the payment.
- Amount: Provide the amount to be paid
- Currency: Provide the currency of the purchase, by default system will show local currency
- Exchange Rate: If it is a foreign currency GGRN, then provide the exchange rate. Exchange rate will automatically added but it can be changed as required.
- Comments: Any comments that will help make the payment.
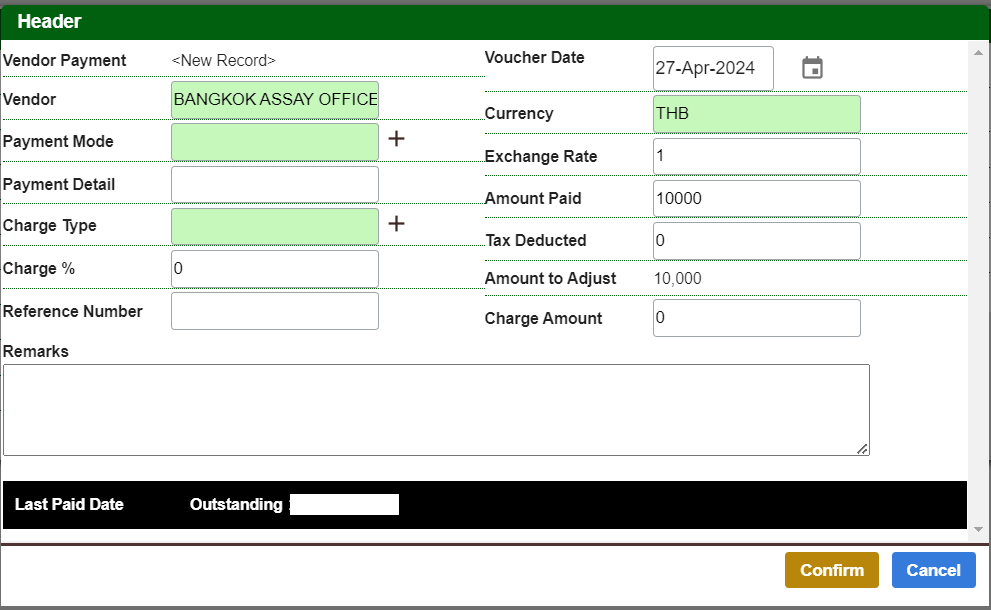
Step 2: After the information that is required is keyed in, click on the Confirm button to close the popup.
Transactions
List of transactions pending settlement for the selected supplier will be added automatically. System will automatically adjust the amount to be adjusted.

You can change the order of transactions to be adjusted by clicking on Drag and dragging the transaction to required position.
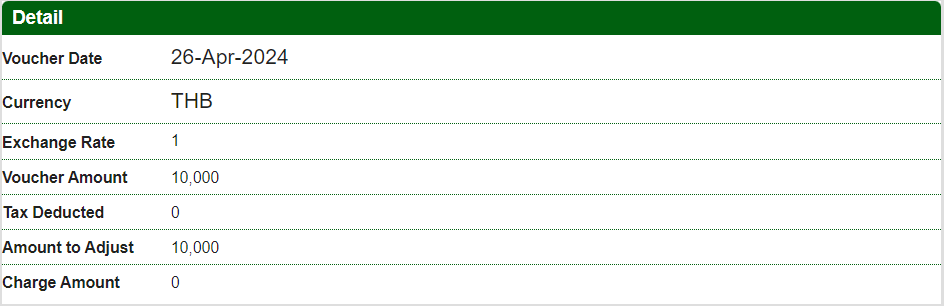
Detail
This section will show the following key information
- Values: Voucher Amount, Tax Deducted, Amount Adjusted, Charge Amount
- Transaction References: Voucher Date, Currency, Exchange Rate
Save the Document
After all changes are done, it is necessary to Save the Document, by clicking the button “Save Document”, If this is new Document, system will assign the Document ID and Code after it is saved for the first time.
Attachments
Note: Attachments can be added only after document is saved.
Step 1: After the document is saved, click on Add button in the Attachment section. This will open a popup for file selection.
Users can select the file to attach or drag and drop the file on the popup
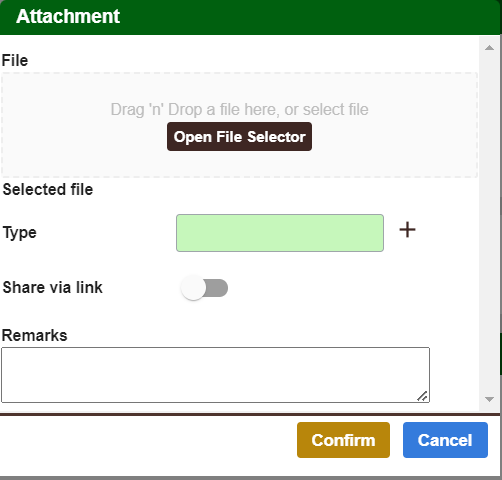
Step 2: Click confirm to close the popup
Note: At a time only one attachment can be uploaded.
Comments
Note: Comments can be added at any time, even if the document status is pending or closed.
To add comment click on Add button and provide the comment in the popup.
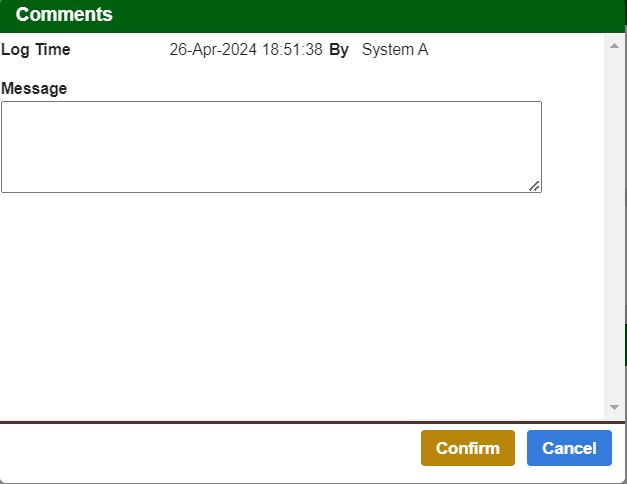
Note: User can edit only their own comment, eg: User A cannot change comment of User B